- 2 Posts
- 54 Comments

 1·2 months ago
Oh wow. Isn’t technology amazing!
I’m glad you eventually figured it out.

 1·2 months ago
You’re welcome! I’m glad that helped.
It’s a pretty common issue, micro corrosion or dirt underneath the domes. But not everyone knows you can peel them up to clean underneath!
I’ve fixed a few systems like that.

 1·2 months ago
Did you lift off the metal domes and clean the contacts underneath? Or did you just clean the tops of the domes?
It’s fascinating how individual changes can make such big differences in the type and quality of coffee.
It’s quite likely that some of the people enjoy the taste that you hate, and wouldn’t like it if they tried brewing without that filter!
One reason I love the coffee hobby so much is that there’s so much room for experimentation.

 2·4 months ago
OK. Always good to start with the low hanging fruit.
You said the connectors beep out. Have you confirmed that the positive and negative power traces beep when the connector is installed in the slot? More than once, I’ve had connectors that look like they were properly inserted, but actually weren’t.
If the length of the cable through the connector has continuity, try checking continuity all the way from the battery terminals to the mainboard.
If that also shows continuity, can you post hi-res photos of both sides of the boards, including your soldering work? It’s possible there’s other damage that you are missing but that I might catch.

 2·4 months ago
Try reseating the Wi-Fi modules, see if that makes a difference.
Also, sometimes the battery gets loose over the years. Try wedging a small bit of paper in the end opposite the connector, to try and wedge it in place more snugly.
Let me know either of these things change anything.
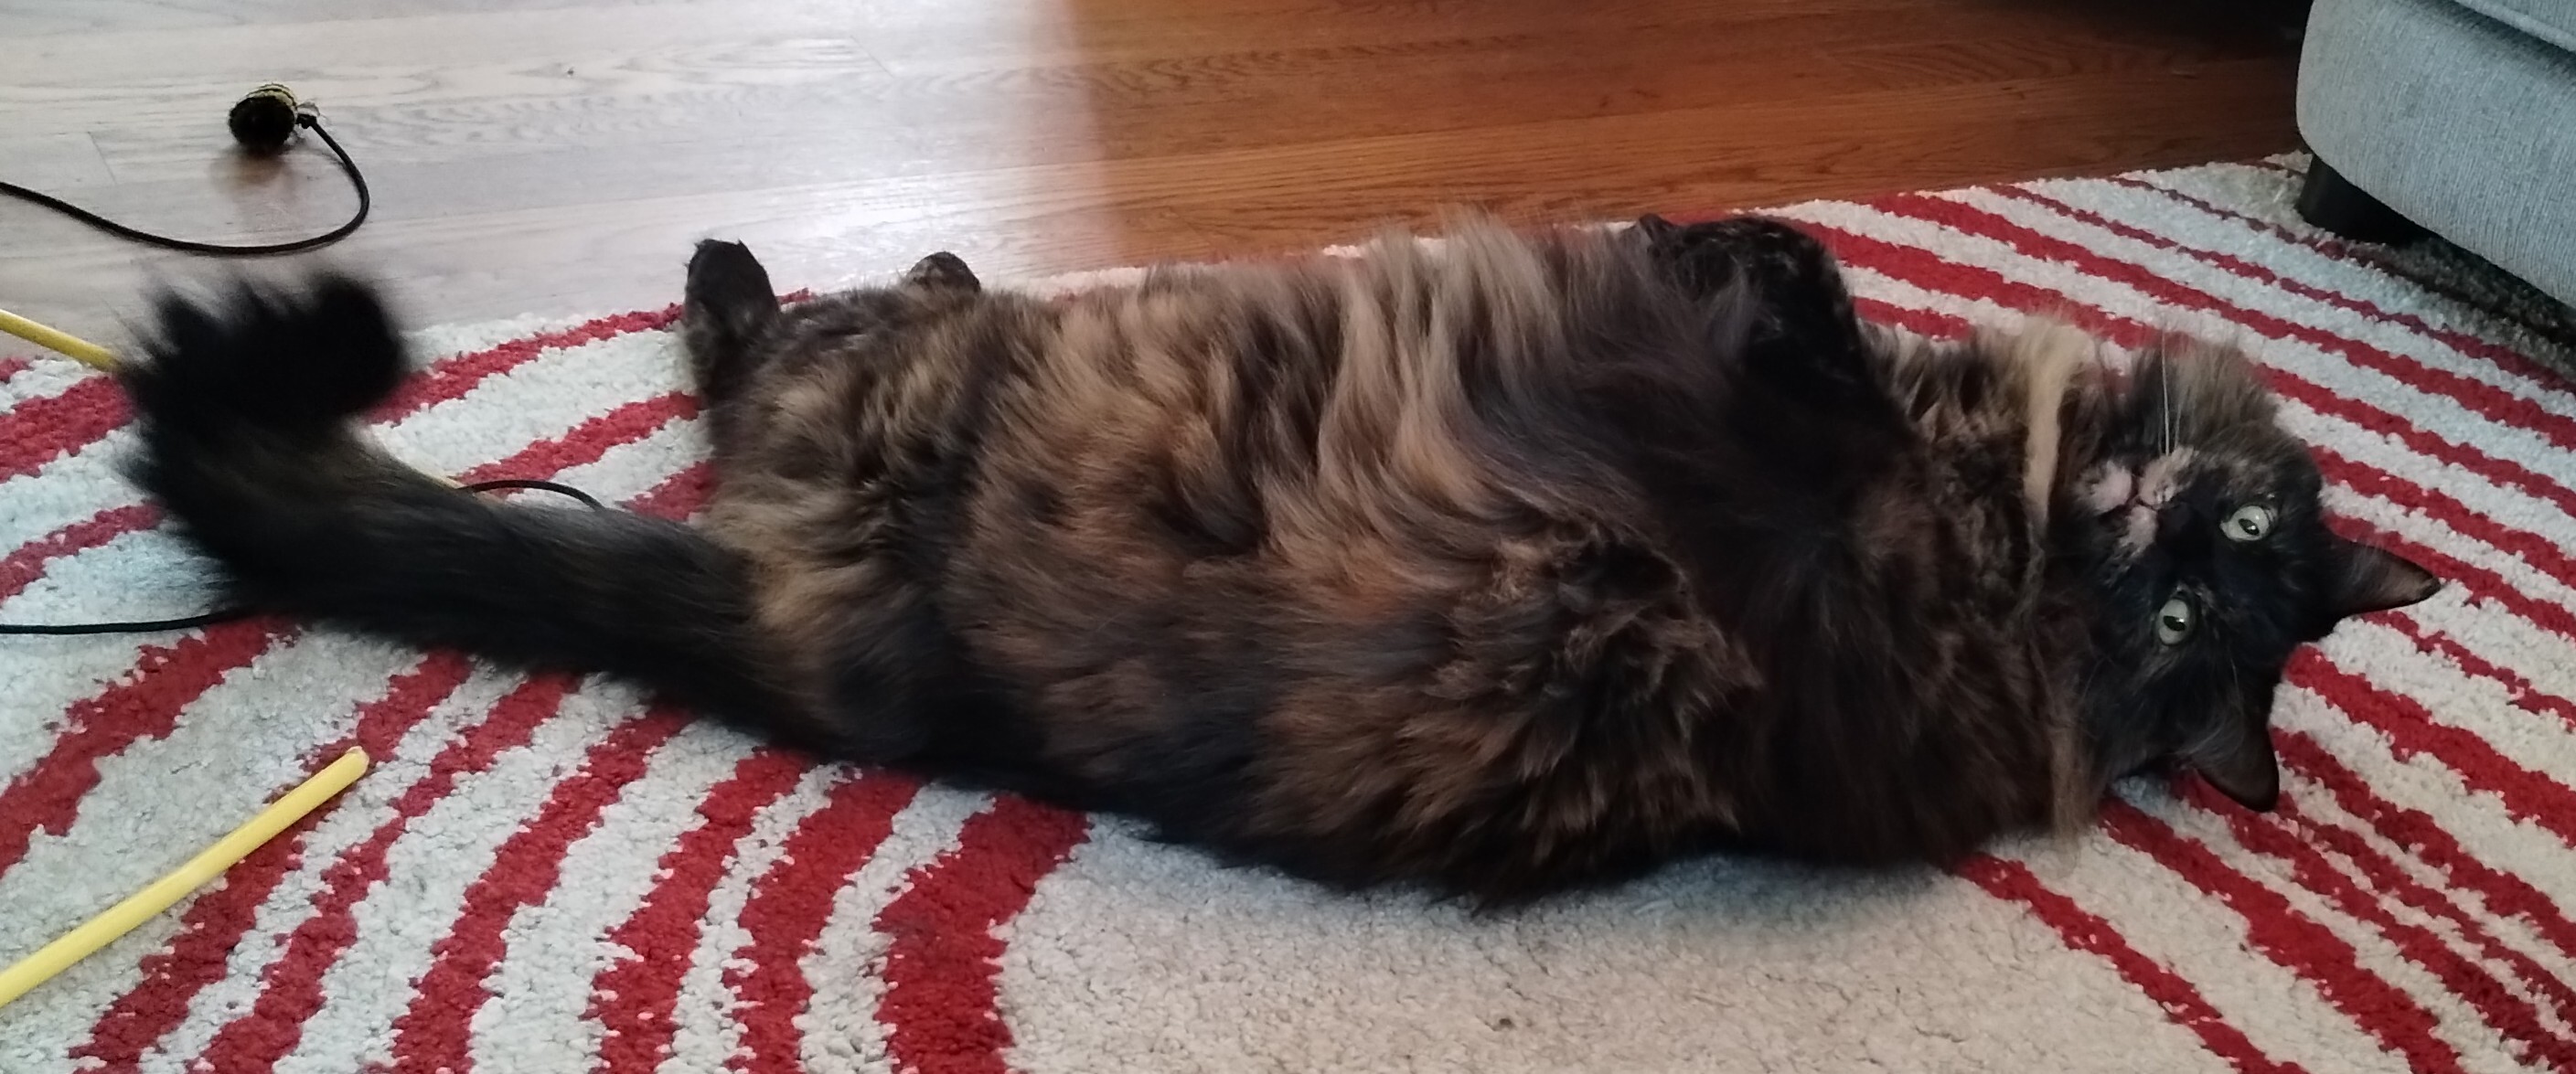
Your sister has a tiny car
With ears

 2·5 months ago
The DSi and XL are arguably the pinnacle of Nintendo’s modern engineering.
The shoulder switches are soldered to a tiny board that’s connected to a ribbon cable, so it’s actually possibly to replace just the switches.
If the ribbon cable is damaged, it’s a tiny and cheap replacement part that doesn’t require even removing the motherboard.
The power board is a discrete child board.
Button presses are handled via metal dome switches. Buttons not working? Pull the dome, clean, then replace with fresh kapton tape.
The only real negative is that two ribbon cables run through the hinge.
The earlier DSes were more of a pain to fix, and the 3DS series started to cheap out by making things harder to access, remove, and put back together.

 3·5 months ago
They generally don’t need to be replaced, in fact.
But most people think they do, so the incorrect info gets spread.
It’s nobody’s fault. Most folks just don’t have any way to know unless they’ve fixed lots of systems. I’ve fixed lots of systems. :)
I used to get great deals on “faulty” Japanese DSi’s, with bad L/R being the only real problem. Then I’d fix them and share them for just the price I’d paid.
Only once was I unable to fix a bad shoulder button by cleaning it. It’s because the switch was broken off and rattling around inside the shell. 🤣

 2·5 months ago
Haha, yeah, I still occasionally misalign those tiny things, even after working on lots of them! (Also I probably hate flex cables and their connectors more than you do.)
I’m really happy it worked for you. Have fun with your newly-fixed system!

 10·5 months ago
Good news! I’ve fixed dozens of systems with this exact problem. It’s very straightforward and doesn’t require much disassembly.
Pull the back off, and spray contact cleaner directly into the switch (in the tiny gap around the switch’s button). Note that you’ll need to disassemble the rear shell a little to get to the switch, but you won’t need to pull the motherboard. (In the original DSI there’l be one flat connector to lift off, and in the XL there’ll be two.)
Then rapidly and gently push the button a whole bunch.
That will clear away dust or micro corrosion that’s interfering with the electric contact.
Reassemble, and it should work better. If it’s not perfect, try again.
I’ve never had a console whose button needed more than three contact cleaner applications. And that was only with buttons that completely stopped working.
You monster, why do make his life so hard :(
Boo
A utility to map extruded lines/objects/shapes to STL files. For example, say you have an STL of a curved vase. You want to add a spiral to it. So you place the photo of a spiral on the object. The utility lets you decide where on the STL it’ll be placed, then you can decide the extrusion depth (positive or negative).
Possibly including some type of LLM, too. So you can import your STL, then type something like “picture of the Simpsons in the style of ancient Greek amphora vase paintings.” It’ll appear as line art on the 3D object
Note that I don’t need this, myself. You want to work on something interesting, so I thought for a few minutes and came up with this. :)

 1·6 months ago
deleted by creator


You didn’t steal a cat.
A cat decided to move.